
The Australian bathroom landscape is shifting. For decades, ceramic and porcelain tiles were the undisputed kings of the wet room. However, as we move into 2026, a new contender has solidified its place in high-end architectural design: microcement.
When planning a microcement vs. traditional tiles comparison for your 2026 bathroom renovation, you aren’t just choosing a surface; you are choosing between a seamless, monolithic aesthetic and a classic, modular tradition. This guide provides an expert-level deep dive into which material suits the Australian climate, your budget, and your long-term property value.
See more: 2026 Floor Tile Buyer’s Guide: Durability, Trends & Costs
Understanding the Contenders: What Are They?
Before weighing the pros and cons, it is essential to understand the technical composition of these materials.
What is Microcement?
Microcement is a polymer-modified cementitious coating applied in multiple thin layers (usually 2–3mm thick). Unlike standard concrete, it adheres to almost any surface—including existing tiles—making it a favorite for “overlay” renovations. It provides a tactile, stone-like finish without the weight or thickness of traditional slabs.
What are Traditional Tiles?
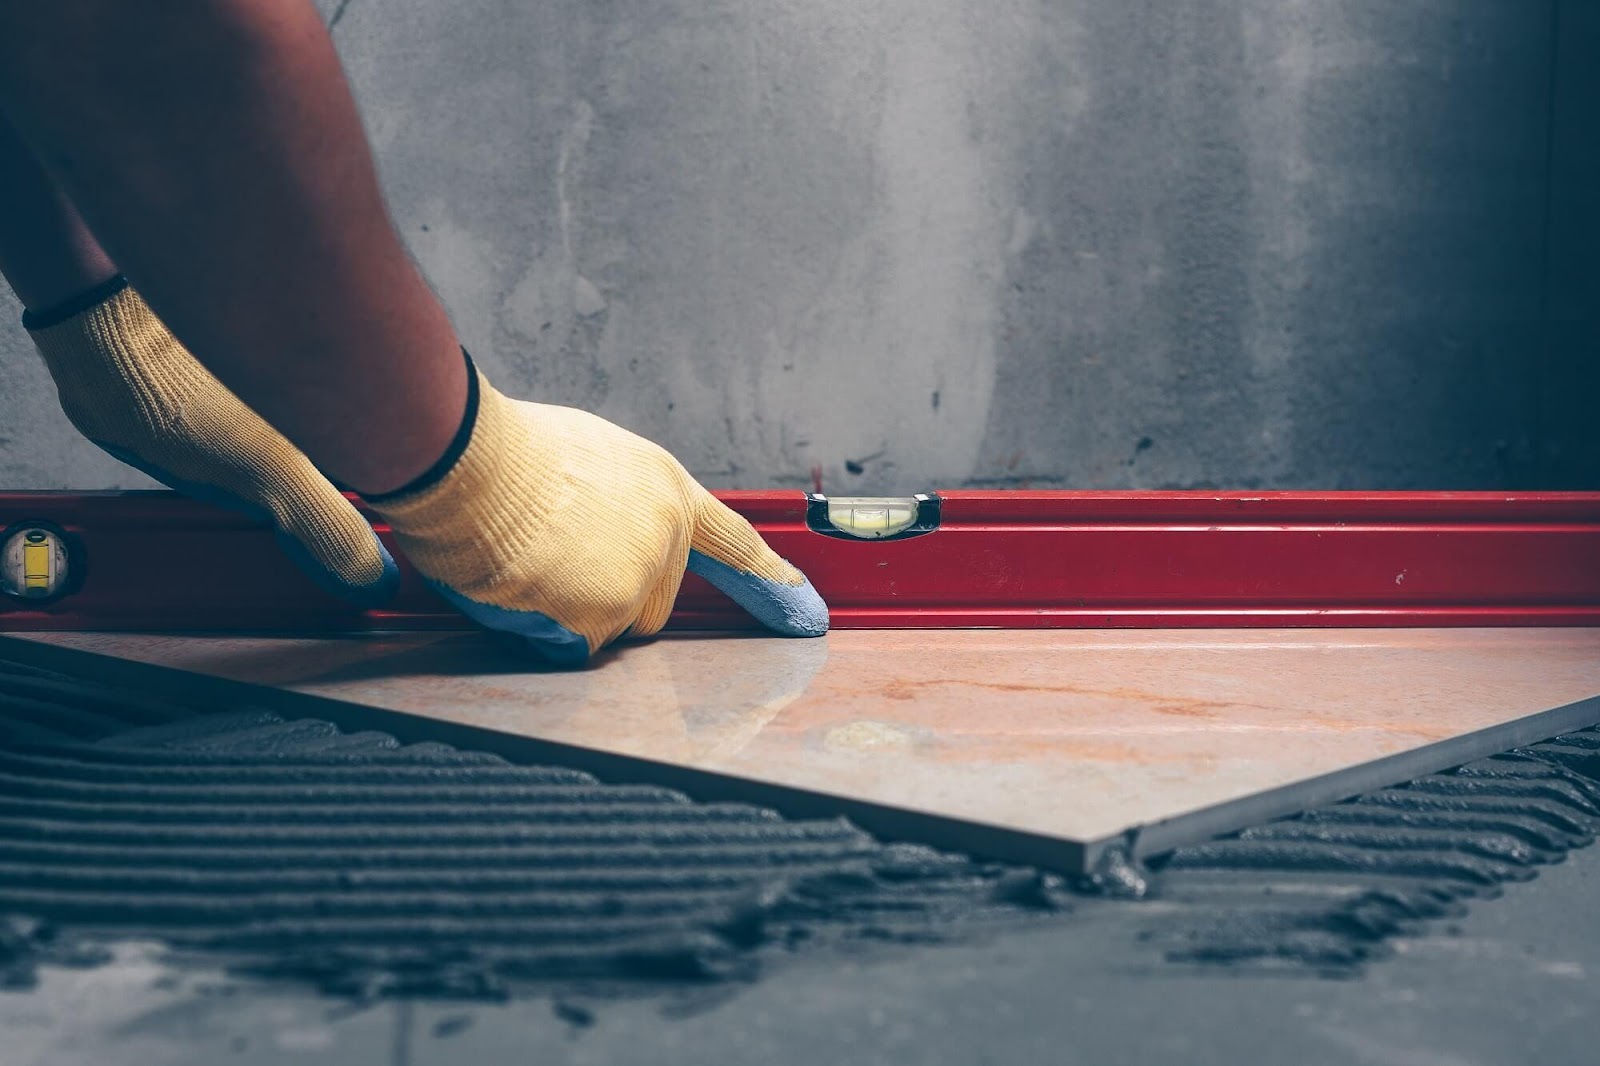
Tiles remain the most diverse flooring option, ranging from ceramic and porcelain to natural stone like travertine or marble. They are modular units installed with adhesive and separated by grout lines, offering a mechanical barrier against moisture.
Direct Comparison: Durability, Aesthetics, and Maintenance
Choosing the right material requires looking past the showroom floor. Here is how these two stack up across key performance indicators.
| Feature | Microcement | Traditional Tiles |
| Grout Lines | Zero (Seamless) | Numerous (Maintenance point) |
| Thickness | 2mm – 3mm | 8mm – 12mm + adhesive |
| Waterproofing | Requires high-quality sealer | Relies on membrane & grout |
| Crack Resistance | Flexible but prone to substrate movement | Brittle; tiles can crack or chip |
| Slip Resistance | Customizable via texture | Varies (check R-ratings) |
| Installation Time | 5–7 days (curing required) | 2–4 days (depending on size) |
Why Microcement is Trending for 2026 Renovations
As we look toward 2026 design trends, “Quiet Luxury” and “Biophilic Design” are dominating the Australian market. Microcement fits these perfectly.
1. The Seamless Aesthetic
The primary draw of microcement is the absence of grout. Grout is traditionally the first part of a bathroom to fail, discolor, or grow mold. A seamless floor creates a sense of “infinite space,” making small Australian ensuites feel significantly larger.
2. Versatility and “Tile-Over” Capability
One of the biggest costs in a renovation is “demolition and disposal.” Microcement can often be applied directly over existing, structurally sound tiles. This reduces landfill waste and significantly cuts down on the mess of a traditional “gut rehab.”
3. Tactile Warmth
Tiles can feel cold and clinical. Microcement retains a certain level of ambient temperature and is highly compatible with underfloor heating systems, which are becoming standard in Victoria and New South Wales renovations.
The Case for Traditional Tiles: The Timeless Choice
Despite the rise of seamless finishes, tiles remain a powerhouse for several functional reasons.
1. Impact Resistance
If you drop a heavy glass bottle in the shower, a high-quality porcelain tile is less likely to show a permanent dent than a softer microcement finish. Tiles are incredibly “hard,” making them ideal for high-traffic family bathrooms.
2. Infinite Design Variety
From Moroccan Zellige to classic Subway tiles or large-format slabs, the aesthetic range of tiles is unmatched. You can play with patterns (herringbone, stack bond) and textures that microcement simply cannot replicate.
3. DIY Friendliness
While microcement requires a certified specialist (DIY is highly discouraged due to the complex sealing process), a confident homeowner can often tackle a basic tiling job, potentially saving on labor costs.
The Installation Framework: Step-by-Step
Understanding the labor involved helps justify the quotes you will receive from Australian contractors.
The Microcement Process
- Substrate Preparation: Sanding and priming the surface to ensure a mechanical bond.
- Base Coats: Applying the first layers with fiberglass mesh to prevent cracking.
- Fine Layers: Hand-trowelling the color-pigmented layers to create the desired “movement.”
- Sanding: Refining the texture to a smooth or matte finish.
- Sealing: Applying multiple coats of high-performance polyurethane sealer (this is the most critical step for waterproofing).
The Tiling Process
- Waterproofing: Applying a liquid membrane over the screed/walls.
- Layout Planning: Centering the tiles to avoid awkward “sliver” cuts.
- Adhesion: Applying thin-set mortar and laying tiles with spacers.
- Grouting: Filling the gaps with epoxy or cement-based grout.
- Caulking: Sealing internal corners with silicone to allow for expansion.
Common Mistakes to Avoid in 2026
- Choosing Microcement for its “Cheapness”: High-quality microcement is often more expensive than mid-range tiling due to the specialist labor required. If a quote seems too low, they are likely skipping the critical sealing stages.
- Ignoring Slip Ratings: In Australia, the P-rating (Pendulum test) is vital. Ensure your microcement or tile meets the NCC (National Construction Code) requirements for wet areas.
- Poor Substrate Assessment: Neither material will hide a bouncy, unstable floor. Ensure your subfloor is rigid before application.
Best Practices for Australian Homeowners
- Internal Linking Suggestion: Check our guide on [The Best Waterproofing Membranes for Australian Bathrooms] for more technical details.
- Internal Linking Suggestion: Read more about [2026 Interior Design Trends in Australia] to see how textures are evolving.
- External Reference: Refer to the Housing Industry Association (HIA) for latest building standards in Australia.
- External Reference: Consult the Australian Tile Council for slip-resistance benchmarks.
FAQ: Microcement vs. Traditional Tiles
Is microcement cheaper than tiling?
Usually, no. While you save on the cost of tiles, the labor for a 5-layer microcement system is intensive. Expect to pay between $150 and $250 per square meter for professional application.
Can microcement crack?
If the building moves significantly, microcement can develop hairline cracks. However, modern systems use flexible polymers and fiberglass mesh to minimize this risk, far outperforming old-school polished concrete.
Is microcement slippery when wet?
Not necessarily. Most installers add an anti-slip grit to the final sealer coat, achieving a P3 or P4 rating, which is safer than many gloss-finish porcelain tiles.
How long does a microcement bathroom last?
With proper maintenance and re-sealing every 5–7 years, a microcement bathroom can last 15–20 years.
Can I use bleach on microcement?
No. Harsh chemicals like bleach can strip the sealer. Use pH-neutral cleaners to ensure the longevity of the waterproof barrier.
Conclusion: Which is Best for Your 2026 Bathroom Renovation?
The decision between microcement vs. traditional tiles ultimately comes down to your lifestyle and aesthetic priorities.
If you crave a modern, minimalist sanctuary and despise cleaning grout lines, microcement is the superior choice for your 2026 renovation. It offers a unique, handcrafted feel that makes a bathroom feel like a high-end spa.
However, if you want a battle-proven, impact-resistant floor with endless pattern possibilities, traditional tiles remain the gold standard for Australian homes.